VILLAGE BOAT SHOP I Pittsburgh, PA
 |
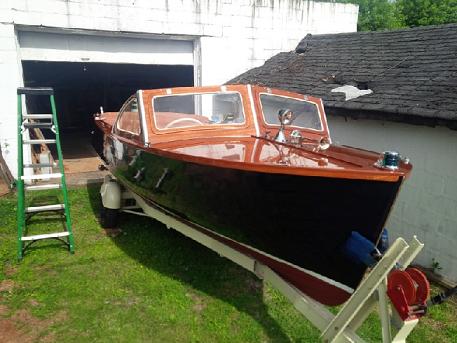


1959 Lyman 17 1/2
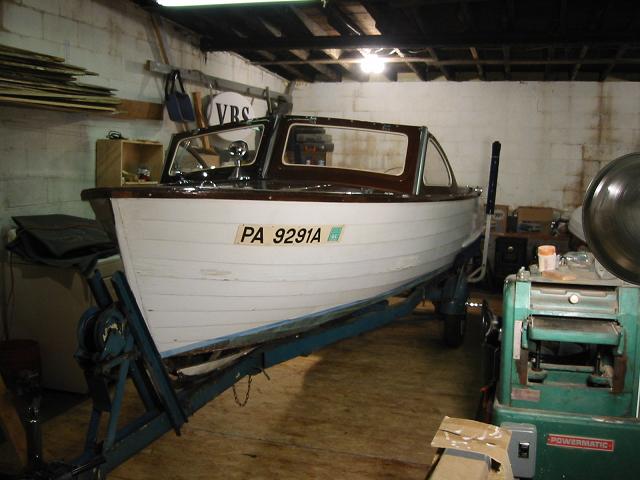
Lyman moved into the shop. Ready to be moved off of the trailer.

Another view of Lyman.
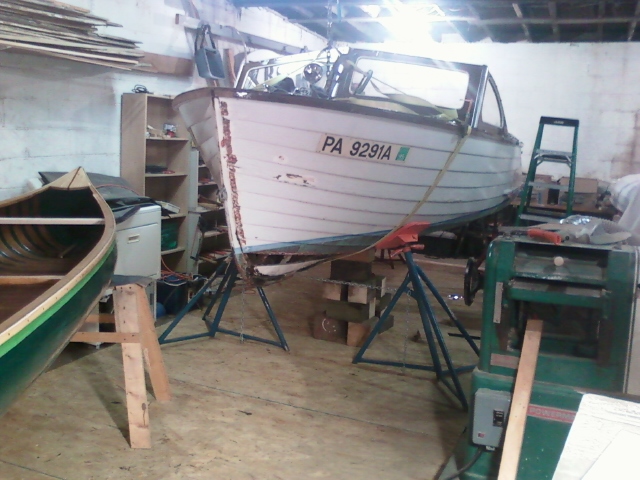
Lyman off the trailer and blocked up.

Stem removed. Ready to pattern new one.
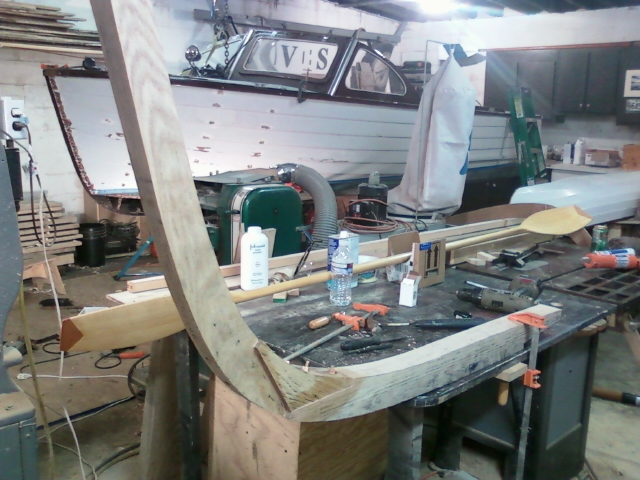
New stem assembly bolted together.

New stem in the boat to check for fit.

New stem in for fitting and locating keel rabbet.

Stem and forefoot assembly ready to go into the boat.

New stem bolted in.

Closeup of the new stem to old keel joint.

Forward framing finished.

Interior furniture has been removed for access to framing and planking

The inner keel has also been replaced

A lot of the bottom planking has been removed.

The forward face of the transom and rotten plywood

The transom has been removed and will be rebuilt.
 New transom installed and planking underway.

New planking in place and waiting for the garboards.
A customer brought a 1959 Lyman 17 footer in to the shop for some repair work. The majority centers around the bow just below the waterline. A previous owner had hit a navigation bouy and tried some repairs. The garboards and 1st and 2nd broad strakes are no good several feet back from the bow. The stem and forefoot are rotten and about 8 pair of frames need to be replaced or sistered due to their heels being rotten.
So far I've blocked up the boat, removed fasteners, and removed the stem from the boat. The white oak lumber that I ordered should be ready soon and I can begin to rebuild.
I picked up the white oak last week. I cut out the forward 3 feet of the keel and cut a hooked scarf onto the existing keel to receive the new stem assembly. The stem assembly is now bolted together and I will be shaping the stem and cutting the rabbet.
The stem and keel assembly has been shaped and the rabbet has been chopped. I bolted the stem in place. I made 1/4" bolts from bronze rod. The planking is temporarily in place and will be refastened with new bronze screws. I will install a floor timber that will attached the bulkhead to the backbone.
I have moved on to the framing. The first pair of sawn frames are out and I've milled out the lumber to make new ones.
All of the sawn frames have been installed as well as several new steam bent frames. In addition, several frame repairs were made. Sections were scarphed into the existing frames. Screws and rivets were used and the scarphs spanned two laps on the planking.
The inner keel was fairly rotten. The original was a piece of 3/8 plywood. I removed it mostly in one piece. I milled out a piece of white oak and transferred the bevels. The new inner keel was reinstalled with 3M 5200.
The transom requires repair. The inner plywood is rotten and some of the exterior mahogany as well. A previous owner had installed a piece of subfloor plywood to the exterior of the transom and this and improper engine well drainage created a mess. I will also be replacing the oak transom framing.
A large section of bottom planking has also been removed in order to be replaced with new 3/8 planking. Once the transom is rebuilt and reinstalled, the planking can be finished.
Update: April 27, 2012
A new transom was built from scratch. The new transom has an inner face of 3/4" marine plywood and is planked on the outside with 1 1/8" mahogany. The transom framing is white oak.
The transom has been installed and the new bottom planking has also been installed. Most of the old planks were taken off of the boat whole so they could be used as patterns. The new planking is installed with a bead of 3M 5200 in the plank laps and then screwed to the frames with bronze screws and clench nailed along the length. The bottom needs to be puttied and then primed and followed up with bottom paint.
I have already applied new varnish to the ladder frame which supports the bottom and also to the outboard stringers that support the floor boards. I will be applying new varnish to the interior and then putting the interior back in.
Update: The interior has been varnished and some of the furniture has been put back in place. The motor well is also in place. Work continues on painting and varnishing the hull. The boat will also have a new deck put on before she leaves the shop.
Update: the owner decided that a new deck was in order. I installed the new deck using 6mm ribbon sliced Sapele marine plywood. The deck is trimmed in solid mahogany. The original was trimmed with plywood. The deck was stained using Sandusky paint co. Lyman Mahogany Stain and varnished.


Patrick Hopkins
VILLAGE BOAT SHOP
385L 1st Street, Lawrence, PA 15055
412-518-7196
patrick@villageboatshop.com